Checklist of 12 points to measure before ordering outdoor railings
Why is it important to take careful measurements before ordering outdoor railings?
- Ensure the railings fit perfectly with the building's actual structure.
- Minimize repairs, cutting, or rework.
- Optimize production and construction costs.
- Ensure safety standards are met.
- Maintain harmonious proportions with the overall architecture.
Are you planning to install railings for your balcony or terrace? Be sure to save the checklist below to avoid any omissions.
Checklist of 12 points to measure before ordering outdoor railings
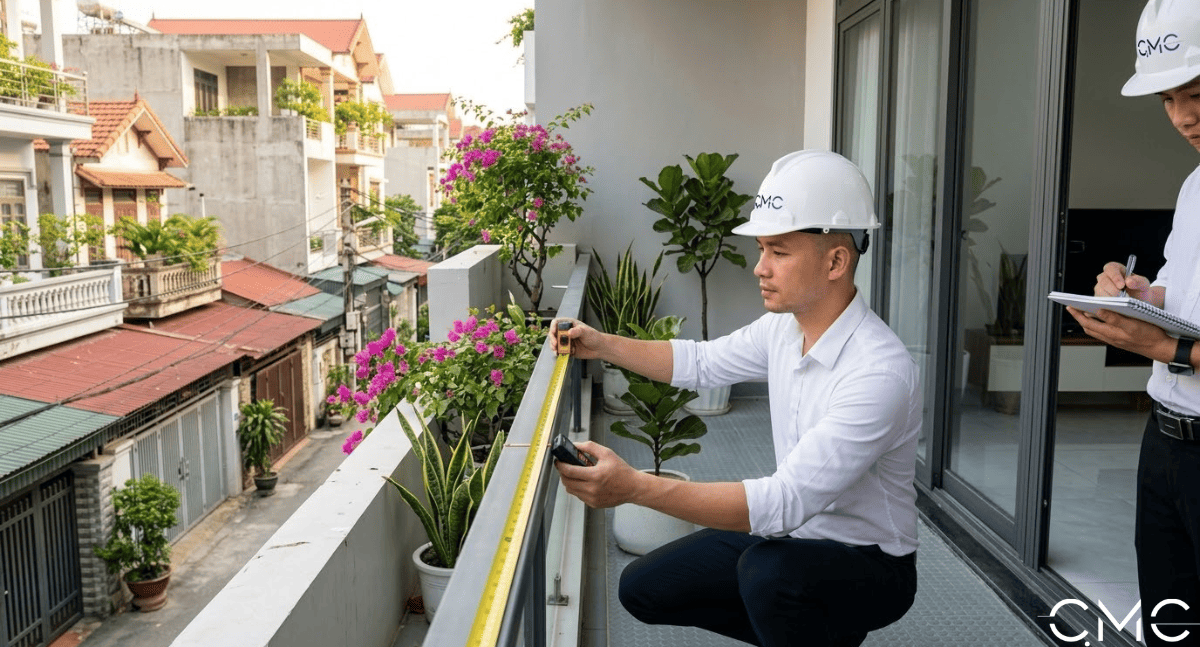
1. The total length of the area where the railing needs to be installed
This is a basic but extremely important parameter. You need to measure the total actual length of the area where the railing will be installed, including straight sections and bends if any
Note:
- Measure precisely along the edge of the intended installation location.
- If the floor plan has multiple sides, divide it into separate sections.
- Specify the dimensions of each section instead of just the total length.
A detailed survey map will help the construction unit more easily calculate the structure, connection points, and fabrication methods more accurately
2. Desired railing height
Outdoor railing height needs to ensure both safety and balance with the overall architecture. The height can vary depending on the location, such as balconies, terraces, or outdoor staircases
When taking measurements, you need to determine:
- Height from the finished floor to the top of the handrail
- Is there a difference in floor level?
- Does this area have special safety requirements for young children or the elderly?
This is a very important step because if the height is not chosen appropriately, the railing may look nice but it will not be truly safe
3. The thickness of the floor or beam edge where the railing will be attached
Many people only focus on the upper part of the railing and forget about the fixing point of the lower posts. Meanwhile, the thickness of the floor, beam, or concrete edge directly affects the connection and stability of the railing
You should measure:
- Concrete slab thickness at the installation location
- Slab edge width or beam edge width
- Underlying clearance, if any
This specification is especially important if you are making glass railings, steel box railings, or stainless steel railings with posts that attach to mounting plates
4. Measure the dimensions of each side and corner if the area is not straight
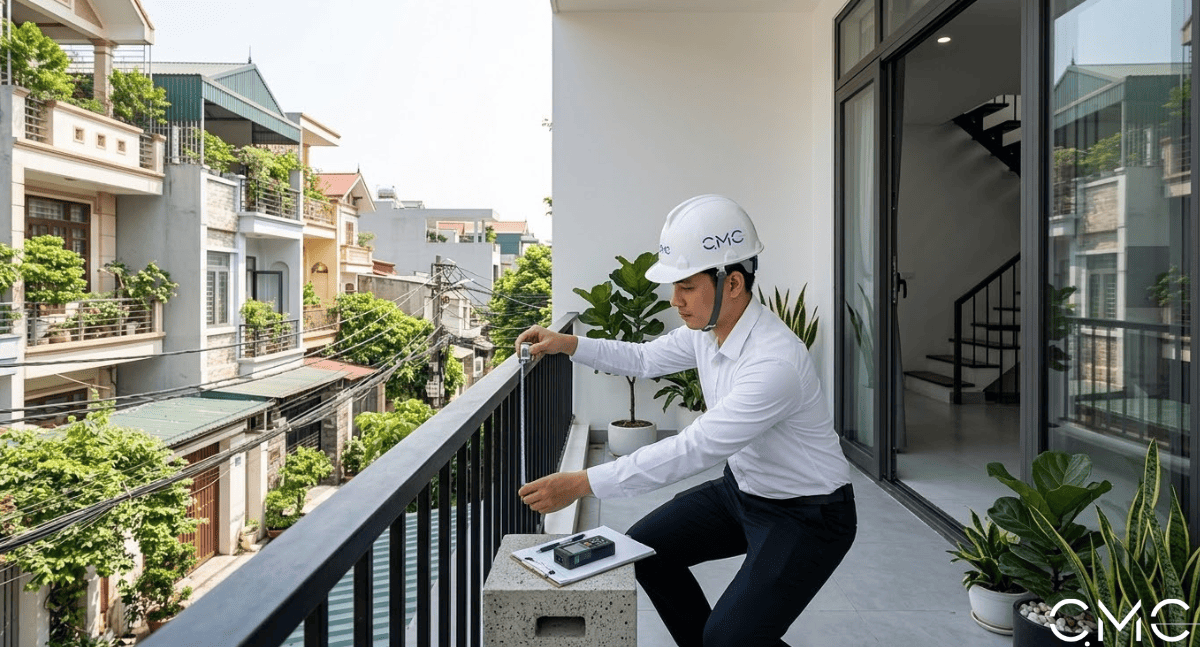
Balconies or terraces are not always perfectly square. There are areas with beveled corners, curves, bends, or slight misalignments due to the construction process
Therefore, in addition to the total length, you need to measure:
- Dimensions of each individual side
- Angle of intersection between sides
- Start and end points of each segment
Ignoring these corner joints can result in a finished railing that is misaligned, has exposed joints, or looks unsightly.
5. Distance from the outer edge to the railing installation point
Are you planning to place the railing flush against the floor or set back a certain distance? This is a very important question during the measurement process.
This parameter helps determine:
- Location of the supporting pillars
- Width of the interior traffic flow
- Overall proportions of the building's facade
Especially for townhouses, villas with attractive facades, or buildings requiring a consistent facade design, the setback of the railing will significantly affect the overall aesthetics
6. Floor slope and drainage direction
Outdoor railings are always directly exposed to rain and sun. Therefore, you cannot ignore the slope of the deck and the direction of water drainage when taking measurements
Let's check:
- Does the floor slope towards the drain or outwards?
- Where is the drain pipe located?
- Are the support posts positioned directly in the drainage area?
If this detail is overlooked, the base of the railing can obstruct water flow, causing water to accumulate over time and affecting the durability of the material as well as the waterproofing layer
7. Location of walls, columns, or supporting points
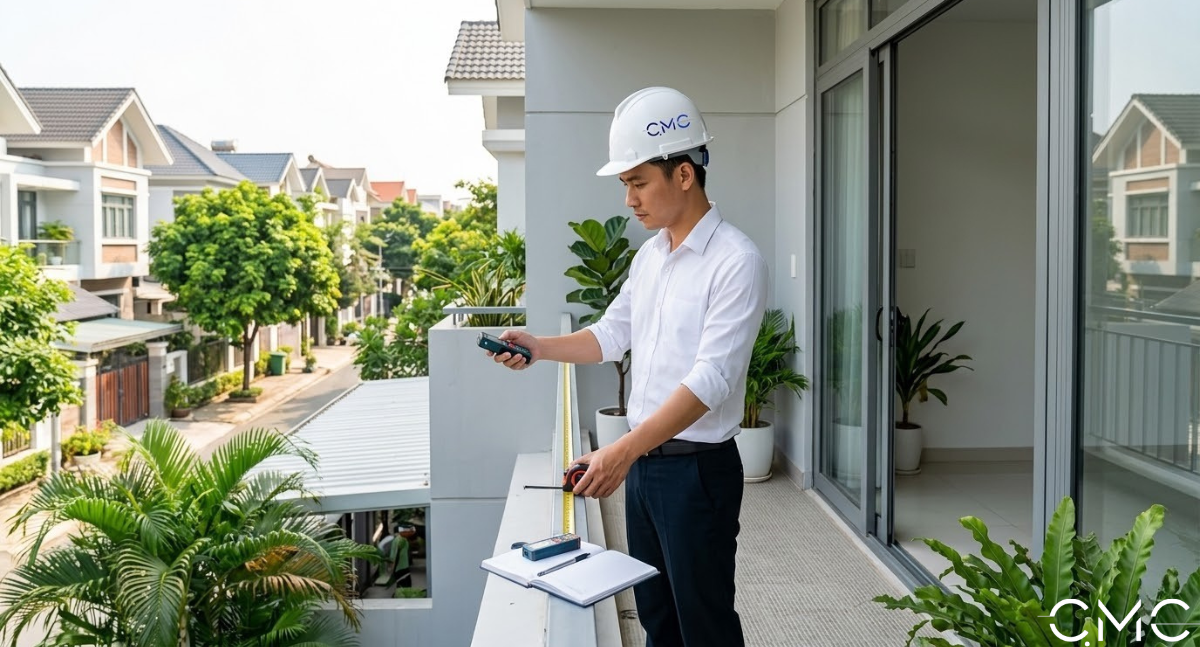
Some railing designs require attachment to the walls on either side or the use of existing columns for increased stability. Therefore, you need to accurately measure the locations of the relevant support points.
This information helps the construction team determine the best way to tighten bolts, weld joints, or handle finishing details more neatly
8. A gap should be left for the door to open or for passageways
If the area where the railing will be installed is near a doorway, casement window, or outdoor passageway, you must carefully measure the operating clearance
This is a very common mistake in practice: after the railing is finished, it is discovered that the gate does not open fully or the passageway is narrower than needed.
9. Desired armrest size
Handrails are frequently touched surfaces, so they not only need to be aesthetically pleasing but also comfortable to hold, sturdy, and in harmony with the architectural style
You should determine this beforehand:
- Handrail type: round, square, or rectangular
- Handrail width or diameter
- Expected materials: wood, stainless steel, painted iron, aluminum, glass combined with handrail…
The size of the handrail directly affects the user experience and overall aesthetics. It's a small detail, but it greatly influences the "quality" of the railing
10. The spacing between the vertical bars or balustrade panels
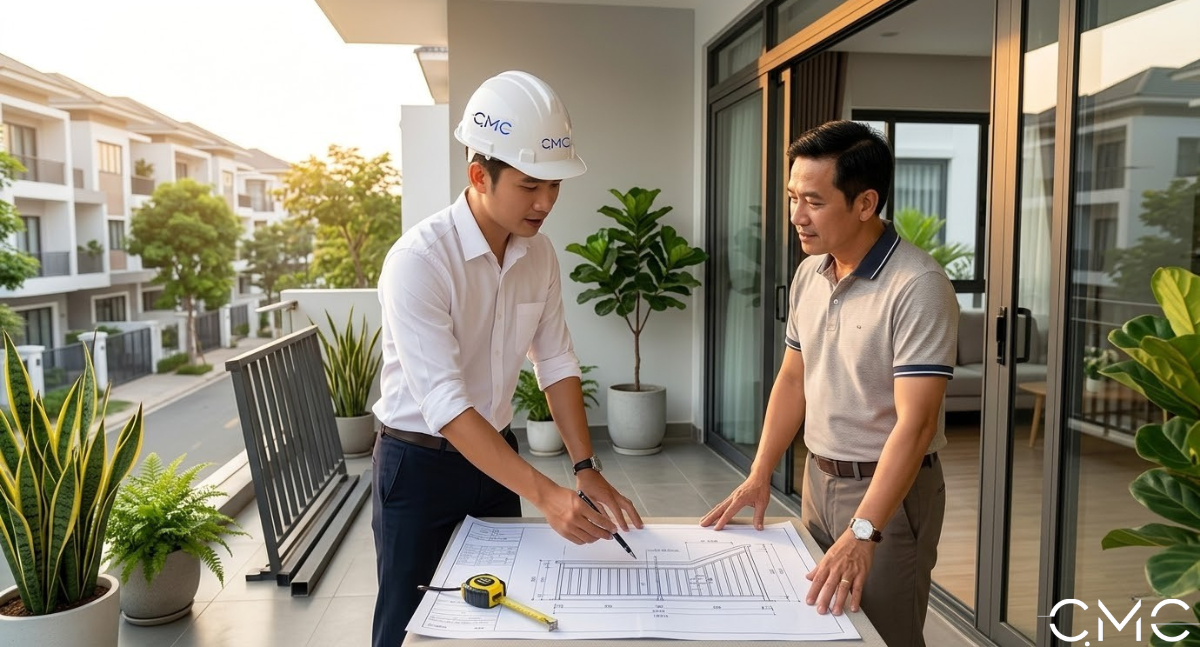
Beyond aesthetics, the spacing between vertical bars, horizontal slats, or glass panes is closely related to safety, especially for families with young children
When developing a plan, you should clarify the following:
- Desired vertical bar density
- Type of grid division
- Is there a need to restrict children from climbing or falling through the gaps?
If you prioritize a minimalist style, consider the balance between a spacious design and practical safety for everyday use
11. Finished dimensions after tiling, waterproofing, or decoration
This is a point that is often overlooked. Many homeowners measure based on rough dimensions, but by the time the construction is finished with additional tiling, stair treads, waterproofing, or baseboards, the actual dimensions have changed
You need to clearly define:
- Is the floor finished?
- Is the balcony edge tiled?
- Are the walls plastered and painted?
- Are there any additional waterproofing layers or finishing tiles?
Always prioritize measuring according to the final finished dimensions to avoid errors during installation
12. Current situation as shown in images and diagrams
In addition to measurements, an extremely useful element is taking photos of the existing condition and drawing simple handwritten diagrams. This helps the design and construction team understand the space correctly, minimizing errors during production
You should prepare:
- Panoramic view of the area
- Close-up photos of the support pillars, connecting corners, and floor edges
- Hand-drawn diagram clearly showing each dimension
- Notes on special points such as floor slope, drainage pipes, doorways, and obstructing columns
Often, a clear photograph can help process information faster than a long but unintuitive table of measurements
A few important notes before sending measurements to the contractor
To avoid mistakes, you should keep the following points in mind:
- Measure at least twice for comparison.
- Use a laser level if the area is long or has many corners.
- Specify the unit of measurement as mm or cm.
- Do not estimate by eye at corners or areas with varying elevations.
- Measurements should be taken after the basic construction, plastering, and tiling are completed.
- If the project is complex, have a professional survey team conduct a direct assessment.
A beautiful railing doesn't start at the factory; it begins with getting the measurements right from the start
Should you take the measurements yourself or hire a professional surveyor?
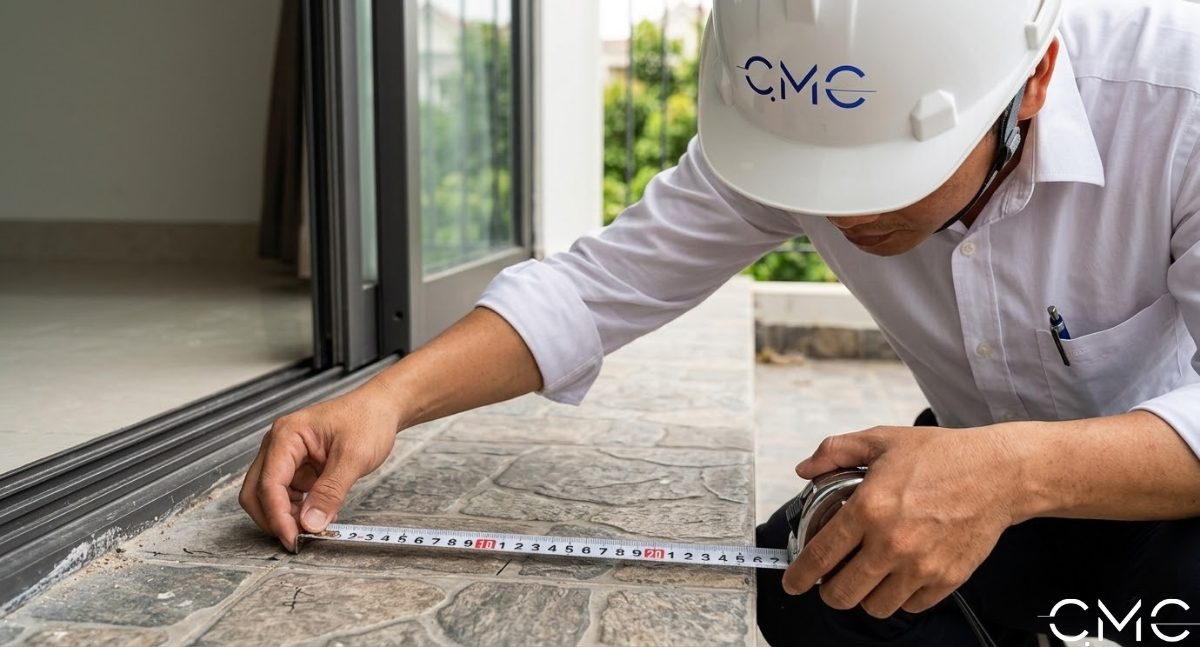
If the area for installing the railing is a simple straight section, you can certainly do some preliminary measurements yourself to estimate the cost. However, for projects with many corners, uneven surfaces, high aesthetic requirements, or the use of specialized materials such as tempered glass, cast aluminum, or wrought iron, it is still safer to have a professional team conduct an on-site survey
Self-measurement gives you control. But professional measurement will help you:
- Minimize dimensional deviations
- Develop a design plan that suits the existing conditions
- Optimize materials and structure
- Ensure production and construction progress
If you want to build a beautiful, durable, and high-quality outdoor railing right from the start, don't hesitate to do a thorough job at this initial step